How to Choose a Super Bright LED Light Bar?
A Super Bright LED Light Bar can transform a dark trail or worksite, but a high lumen figure alone does not guarantee useful visibility. The beam pattern, mounting height, electrical draw, and heat control all shape real-world performance. A wide flood beam can reveal the ground beside a vehicle, while a focused spot beam reaches farther down a straight road. Some bars combine both patterns. Test the beam where you plan to use it, not only in a bright showroom.
Lighting designer James R. Benya’s work supports a practical principle: “Good lighting depends on where the light goes, not just how much a fixture produces.” Treat that as a design reminder, rather than a substitute for product testing. Check whether the maker provides measured output, beam details, current draw, and clear installation guidance. Look closely at the lens and housing, too. A sturdy aluminum body, sealed connectors, and a clean finish can signal thoughtful construction, though they do not prove durability by themselves.
This guide explains how to compare brightness claims, beam shapes, color temperature, and build quality. It also covers choosing a bar for driving, off-road use, or a work vehicle. Small details matter. A light that looks impressive on paper may create glare, draw more power than expected, or leave dark patches near the vehicle. Choose a Super Bright LED Light Bar for the task, then verify that its performance fits your setup.
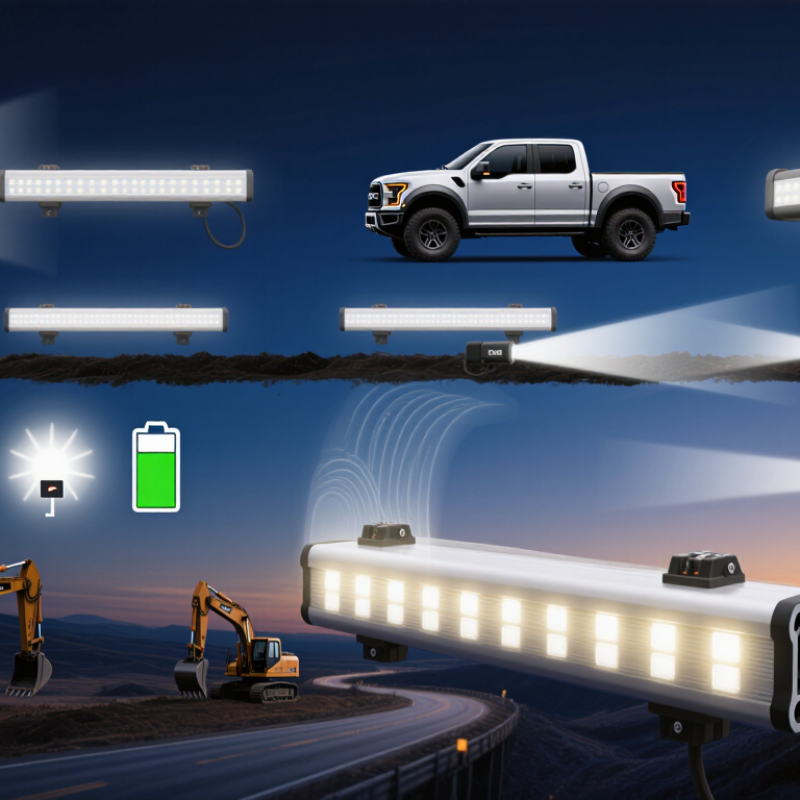
Define Your Lighting Needs and Intended Use
How to Choose a Super Bright LED Light Bar?
Define Your Lighting Needs and Intended Use
Start with the job, not the brightest number on the box. A light bar for slow work around a property needs a wide, even beam. For distant trail visibility, a narrower beam can reach farther, but may leave nearby ground dark. Think about where you need light: close to the vehicle, ahead, or across a broad area. That detail changes which beam pattern makes sense.
Consider the conditions, too. Dust, rain, vibration, and limited mounting space all affect daily performance. Check the bar’s dimensions, mounting options, and weather-resistance rating against your equipment. Then confirm that your electrical system can support its stated power draw. A simple fit check helps. Measure the mounting area before ordering; a bar that blocks a sensor or sits awkwardly can be a frustrating mistake.
Brightness alone rarely tells the whole story. A very intense beam may cause glare on reflective surfaces or feel tiring during long use. If possible, compare the beam in a realistic setting, not just a showroom. Notice how evenly it lights the ground and whether it creates harsh dark patches. Your first choice may not be perfect. Reconsider it after a short trial, especially if the light looks impressive but makes close work harder.
Compare Lumens, Beam Distance, and Brightness Claims
A super-bright LED light bar can look impressive on a specification sheet, but lumens alone do not tell you what you will see. Lumens measure total light output; some listings quote theoretical LED-chip output rather than measured output from the complete bar. That difference matters. A wide beam spreads light across nearby ground, while a narrow beam sends more light farther ahead.
Check beam distance alongside the test method. Distance figures usually depend on peak intensity and a stated minimum light level, so two products may use different conditions. A long-distance claim can describe a tight central hotspot, not a bright, even view of the road. Look for beam-pattern photos or measurements, and consider whether the edges remain visible. Numbers can mislead.
Brightness claims are easier to compare when the products were tested under similar conditions. Check whether output is measured after the bar warms up; heat can reduce performance. Color temperature can make light look whiter or bluer, but it does not prove that the bar produces more useful light. A practical check is to compare beam spread, distance, and measured lumens together. Even then, mounting height and aim change what reaches the ground. I’d treat any single headline figure with a little doubt. That is fair.
How to Choose a Super Bright LED Light Bar
Compare total light output (lumens) with peak beam intensity (candela). Beam distance depends on candela—not lumens alone.
How to read this chart: Distances are calculated using the ANSI/PLATO FL 1 beam-distance threshold of 0.25 lux: distance = √(candela ÷ 0.25). These are reference calculations, not product measurements. Lumens describe total light output; candela indicates how concentrated the beam is.
Check Power Requirements, Mounting Options, and Vehicle Fit
A super bright LED light bar is only useful if the vehicle can power it safely. Start with its rated wattage and voltage, then estimate current by dividing watts by volts. A 120-watt bar on a 12-volt system draws about 10 amps, before electrical losses. Check the vehicle’s charging capacity, wiring, relay, and fuse requirements against the light’s instructions. Leave suitable electrical headroom. Do not guess.
Mounting affects both durability and beam direction. Measure the available space between brackets, and check that the mounting holes match the bar. A roof mount may expose the light to more vibration and wind; a grille or bumper mount may have limited clearance. Make sure the bar will not block airflow, sensors, or the driver’s view. Measure twice.
Confirm the fit for your vehicle’s year, model, and body style, since trim and accessories can change usable space. Check whether the brackets allow adjustment after installation, then aim the beam where it is needed without lighting up the hood. A high lumen figure alone does not tell you how far or evenly the light will reach. Even careful measurements can miss a small obstruction, so recheck clearance with the bar temporarily positioned before tightening everything.
Evaluate Durability, Certifications, and Installation Safety
Bright output is easy to notice; durable construction takes closer inspection. Check the housing for even seams, solid mounting feet, and a clear, undamaged lens. Look for a stated ingress-protection rating, then confirm what its test covers; water resistance does not always mean resistance to high-pressure spray. Heat matters, too. A compact bar with poor heat dissipation may lose output or wear prematurely. Check the technical sheet for operating temperature, vibration testing, and corrosion resistance, rather than relying on a thick-looking case. Appearance can mislead.
Treat certification marks as evidence to verify, not decoration. Match each mark and standard number to current product documents, and confirm they apply to the exact light-bar model. Requirements can vary by application and location. If the paperwork is vague, ask for test reports before purchase. Installation deserves equal care. Disconnect the power source before wiring, and use a fuse suited to the circuit, positioned near the supply as instructed. Keep cables clear of sharp edges, hot parts, and moving components; use grommets where wires pass through metal. Tighten brackets evenly, then recheck them after the first drive. Aim the beam carefully. Small oversight, big glare.